DJI C12000: Setup Inicial, Componentes, Cabos e Primeira Inspeção
DJI C12000: Setup Inicial, Componentes, Cabos e Primeira Inspeção
O DJI C12000 Intelligent Power Supply User Guide v1.0 começa com receiving, component identification e first inspection antes de conectar power. Esta guia transforma essa introdução em um commissioning checklist.
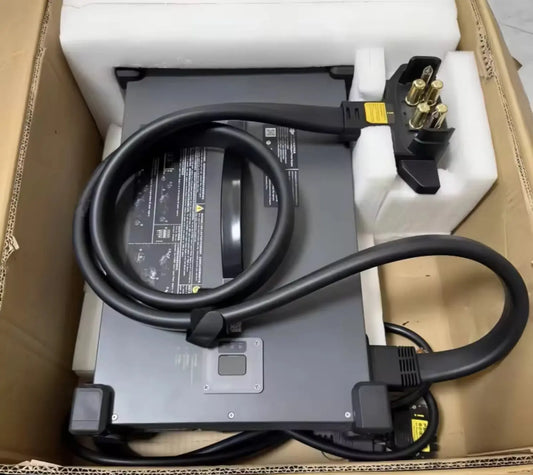
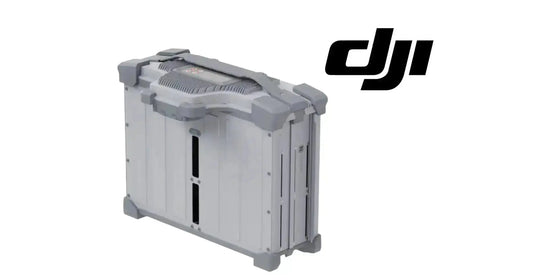
Resumo: o package inclui C12000 Intelligent Power Supply, fast charging cable e conversion cable. Antes do first use, identifique charging cable, USB-C, AC power port, ventilation holes, status LEDs, handle e fan dustproof cover. Inspecione enclosure, ports, cable insulation e airflow area; use superfície plana/estável e prepare ventilation antes de energizar.

1. Package contents
- C12000;
- fast charging cable;
- conversion cable.
2. Slow charging cable
É tratado separadamente e pode depender do market.
3. Charging cable
Battery-side connection.
4. USB-C port
Activation, firmware e diagnostics.
5. AC power port
Fast cable ou conversion-cable path.
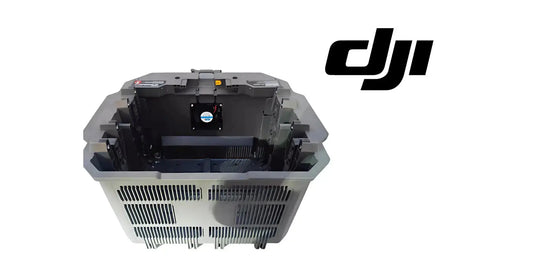
6. Ventilation holes
Devem permanecer livres.
7. Status LEDs
Charging, DC output e AC input.
8. Handle
Use para transportar; não puxe pelo charging cable.
9. Dustproof cover
Parte do cooling path.

10. Enclosure inspection
Impact, deformation, cracks, contamination.
11. Charging connector
Buildup, damage, foreign material.
12. AC port
Damage/contamination.
13. Cable insulation
Sem cuts ou exposed conductor.
14. Ventilation
Sem dust/debris/packaging.
15. Connector cleaning
Somente com external power disconnected.
16. No energized cleaning
Inclua no SOP.
17. Flat stable surface
Prepare antes de power.
18. 50 cm ventilation
Integre ao setup.
19. 30 cm battery spacing
Quando charging começar.

20. Before power checklist
- package verified;
- correct cable;
- ports clean;
- ventilation clear;
- stable surface;
- dry site;
- mode planned;
- battery/cooling identified.
21. Activation depois do physical setup
O C12000 deve ser activated antes do first normal use.
22. Firmware baseline
Registre depois da activation.
23. Fast versus slow planning
Defina mode antes do AC connection.
24. Battery-side hardware
DB2160, cooling station, air-cooling system e charging accessories fazem parte do current T100 ecosystem.
25. Receiving record
- model;
- asset ID;
- fast cable;
- conversion cable;
- enclosure;
- AC port;
- charging connector;
- dustproof cover;
- photos;
- receiver.
26. Photo baseline
Ajuda a separar shipping damage de site damage/wear.
27. Setup-to-service workflow
- receive;
- identify;
- site prep;
- activate;
- firmware;
- select mode;
- battery/cooling;
- monitor LEDs;
- log first charge.
28. Cable missing
Identifique exatamente qual cable antes de substituir.
29. Enclosure damaged
Documente e use support/dealer guidance.
30. Dirty connector
Disconnect external power first.
31. Ventilation contaminated
Maintain cooling path antes de high-load charging.
32. Setup acceptance
- package complete;
- no obvious damage;
- cables correct;
- ports clean;
- airflow clear;
- handle intact;
- dustproof cover intact;
- site ready;
- activation ready;
- charging path selected.
33. Erro: transportar pelo cable
Use handle.
34. Erro: power antes do site
Prepare primeiro.
35. Erro: cleaning energized
Disconnect first.
36. Erro: slow cable sempre incluso
Não necessariamente.
37. Perguntas frequentes
Package?
C12000, fast cable, conversion cable.
USB-C?
Activation/firmware/diagnostics.
Como transportar?
Handle.
Primeira inspeção?
Enclosure, connectors, ports, cables e airflow.
Depois?
Activation/firmware e charging mode.
Fonte e revisão
Fonte: DJI C12000 Intelligent Power Supply User Guide v1.0 (2025), package diagram, component map e warnings.
38. Receiving inspection deve acontecer antes de misturar accessories
Se o operation center já possui outros C12000 cables ou accessories, fotografe e separe o package novo antes de colocá-lo no shared inventory. Isso preserva a evidence do que chegou com aquele unit.
39. Asset labeling reduz confusão entre chargers
Associe model number, serial/asset ID e primary charging site ao C12000. Se existem CSX901-12000 e 12000H no mesmo fleet, mantenha identification visível.
40. First-charge acceptance deve fechar o commissioning
Activation bem-sucedida não basta. Registre um first successful charge com compatible battery, cooling hardware e normal LED behavior antes de considerar o asset fully commissioned.
41. Dustproof-cover condition deve entrar na maintenance baseline
Uma photo da cover/ventilation area quando nova ajuda a perceber buildup ou damage ao longo do tempo.
42. Cable inventory deve distinguir função
Marque fast charging cable, conversion cable, slow charging cable e battery-side charging/extension cable separadamente. Evite armazenar tudo como “C12000 cable”.
43. Setup handoff record
- package complete;
- asset label applied;
- site prepared;
- activation complete;
- firmware baseline;
- charging mode selected;
- first compatible battery charged successfully;
- LED state normal;
- operator trained on shutdown sequence.