DJI C12000: Setup Inicial, Componentes, Cables y Primera Inspección
DJI C12000: Setup Inicial, Componentes, Cables y Primera Inspección
El DJI C12000 Intelligent Power Supply User Guide v1.0 empieza por algo simple pero fundamental: identificar qué viene en el package, conocer los external service points y completar una inspección antes de conectar power. Este artículo convierte esa introducción en un commissioning checklist para operadores y talleres.
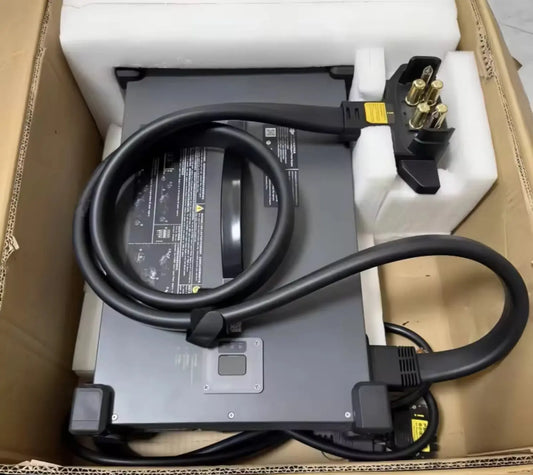
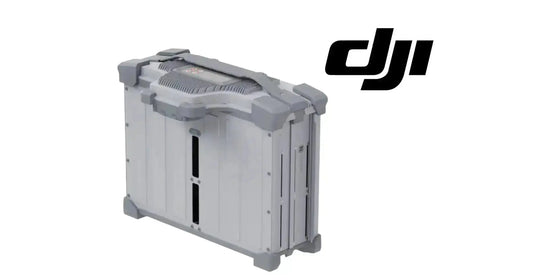
Respuesta rápida: el package incluye el C12000 Intelligent Power Supply, un fast charging cable y un conversion cable. Antes del first use, identifique charging cable, USB-C port, AC power port, ventilation holes, status LEDs, handle y fan dustproof cover. Inspeccione enclosure, ports, cable insulation y airflow area; coloque el unit sobre una superficie plana y estable con ventilación adecuada antes de conectar power.

1. Qué viene con el C12000
DJI muestra tres primary items:
- C12000 Intelligent Power Supply;
- fast charging cable;
- conversion cable.
2. Slow charging cable no forma parte del mismo package path
La slow-charging section lo trata por separado y dice que puede ser adquirido mediante local dealer dependiendo del market.
3. Identifique el charging cable
Es el battery-side connection path entre el C12000 y el cooling interface.
4. Identifique el USB-C port
Se usa para conectar el remote controller durante activation, firmware update y diagnostics.
5. Identifique el AC power port
Recibe el fast charging cable o el conversion-cable path, dependiendo del charging mode.
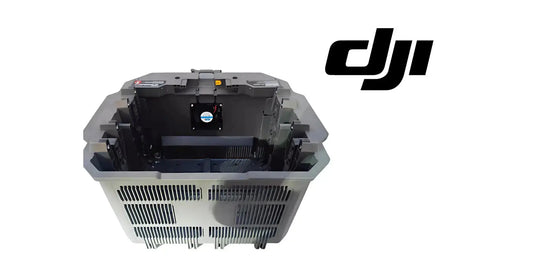
6. Identifique las ventilation holes
Deben mantenerse libres durante operation.
7. Identifique los status LEDs
Los three channels cubren charging/battery, DC output y AC input.
8. Identifique el handle
Use el handle como carry point. DJI advierte contra mover el unit tirando del charging cable.
9. Identifique la dustproof cover
Forma parte del cooling path y requiere periodic cleaning.

10. Primera inspección — enclosure
Busque obvious impact, deformation, cracks o contamination antes de conectar power.
11. Primera inspección — charging connector
Revise buildup, damage o foreign material.
12. Primera inspección — AC port
Confirme que no haya damage visible o contamination.
13. Primera inspección — cable insulation
No ponga en servicio un cable con insulation damage, cuts o exposed conductor.
14. Primera inspección — ventilation area
Confirme que intake/exhaust area esté libre de dust buildup, packaging o debris.
15. Cleaning del charging connector
Si existe buildup, DJI indica limpiar solo después de disconnecting the product from external power.
16. No limpie energized connectors
Ese detail debe formar parte del workshop SOP.
17. Place on flat stable surface
Setup físico pertenece al commissioning, no debe resolverse después de conectar power.
18. Preserve ventilation
Integre el 50 cm ventilation-clearance charging-site guidance desde el first setup.
19. Preserve battery spacing
Cuando llegue el momento de charging, mantenga la charging battery al menos 30 cm del C12000 y fuera del airflow path.

20. Antes de energizar
- package contents verified;
- correct cable identified;
- ports clean/undamaged;
- ventilation clear;
- unit on stable surface;
- site dry;
- correct charging mode planned;
- battery/cooling hardware identified.
21. Después del physical setup viene activation
El commissioning no termina con cables y site. El C12000 debe ser activated mediante DJI Agras antes del first normal use.
22. Firmware baseline
Después de activation, registre firmware state antes de colocar el charger en fleet service.
23. Fast versus slow planning
Decida antes de conectar AC power si el site utilizará three-phase fast charging o single-phase slow charging. No improvise entre modes con el charger energized.
24. Battery-side hardware
Para T100 operations, el current verified ecosystem incluye DB2160 Intelligent Flight Battery, DB2160 Battery Cooling Station, Battery Air-Cooling System y charging extension cable.
25. Package receiving record
- C12000 model;
- serial/asset ID;
- fast charging cable present;
- conversion cable present;
- enclosure condition;
- AC port condition;
- charging connector condition;
- dustproof cover condition;
- photos captured;
- receiver/operator.
26. Why photo baseline matters
Si aparece damage más tarde, receiving photos ayudan a distinguir shipping damage, site damage y normal wear.
27. Setup-to-service workflow
- receive and inspect;
- identify components;
- prepare site;
- activate;
- update firmware if prompted;
- select fast or slow charging path;
- connect compatible battery/cooling hardware;
- monitor LEDs;
- log first successful charge.
28. If a cable is missing
No substitute an unverified generic cable. Identify whether the missing item is fast charging cable, conversion cable or market-specific slow charging cable.
29. If the enclosure is damaged
Do not place the unit into normal service solely because it powers on. Document and use official support/authorized dealer guidance.
30. If the connector is dirty
Disconnect from external power before cleaning as the source requires.
31. If ventilation is heavily contaminated
Clean/maintain the cooling path before high-load charging.
32. Setup acceptance checklist
- package complete;
- no obvious damage;
- correct cables present;
- ports clean;
- ventilation clear;
- handle intact;
- dustproof cover intact;
- site spacing ready;
- activation plan ready;
- first-charge path selected.
33. Error común: transportar por el charging cable
Use el handle.
34. Error común: energizar antes de site setup
Prepare location primero.
35. Error común: limpiar connector con external power connected
Disconnect first.
36. Error común: asumir que slow charging cable siempre viene incluido
La source lo trata separadamente.
37. Preguntas frecuentes
¿Qué incluye el package?
C12000, fast charging cable y conversion cable.
¿USB-C para qué?
Activation, firmware y diagnostics vía remote controller.
¿Cómo moverlo?
Por el handle, no tirando del charging cable.
¿Qué inspeccionar primero?
Enclosure, connectors, ports, cables y airflow.
¿Qué sigue después del setup?
Activation/firmware y luego el charging mode apropiado.
Fuente y revisión
Fuente principal: DJI C12000 Intelligent Power Supply User Guide v1.0 (2025), package diagram, component map y English warnings.