DJI C12000: Guia Completo de Setup, Fast Charging, Slow Charging e Diagnóstico
DJI C12000 Intelligent Power Supply: Guia Completo de Setup, Fast Charging, Slow Charging e Diagnóstico
O DJI C12000 Intelligent Power Supply User Guide v1.0 é curto, mas cobre todo o fluxo principal: components, charging site, activation, fast charging, slow charging, battery cooling, LEDs, storage e compatibility. Esta guia reorganiza esse conteúdo sem inventar procedures além da source.
Resumo: inspecione o C12000 e os cables, mantenha ventilation e spacing adequados, ative o power supply via DJI Agras quando necessário, escolha fast ou slow charging conforme a instalação elétrica, conecte primeiro o charging cable ao air-cooled heat sink e depois coloque a battery, use os LEDs como primeiro diagnostic branch e mantenha a dustproof cover limpa.

1. Estrutura do manual
- setup/components;
- charging-site safety;
- activation/firmware;
- fast charging;
- slow charging;
- DB2160 / heat-sink workflow;
- LED troubleshooting;
- storage/maintenance;
- specifications/compatibility.
2. Component map
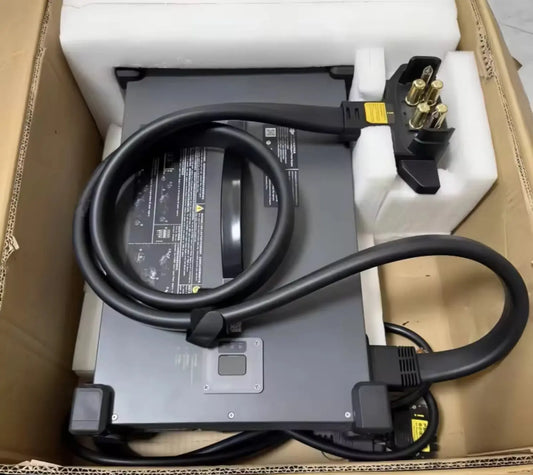
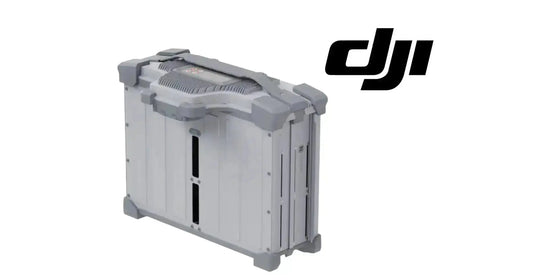
A source identifica charging cable, USB-C, AC power port, ventilation holes, LEDs, handle e dustproof cover. Conheça esses elementos antes de energizar.

3. Charging site
Use superfície estável e mantenha ventilation openings livres.
4. Spacing
O battery-side workflow usa 50 cm de clearance ao redor do C12000 e pelo menos 30 cm entre battery e power supply.
5. Activation
Se o charger recebe power mas não está ready, confirme activation/firmware no DJI Agras antes de concluir hardware failure.
6. Fast e slow charging são paths diferentes
Fast charging usa three-phase high power; slow charging usa single-phase lower power.

7. Fast charging — limite de segurança
A DJI exige qualified electrician com insulated gloves para a conexão three-phase. Esta guia não transforma a seção em DIY wiring.
8. L1/L2/L3/PE
L1, L2 e L3 são hot conductors; PE é protective earth. PE não deve ir para neutral ou hot terminal.
9. Slow charging
Use o single-phase/conversion-cable workflow correspondente.
10. Battery-side sequence
Cable no air-cooled heat sink primeiro; battery depois.
11. Compatible batteries desta revisão
- DB2100;
- DB1580;
- DB2160.
A DJI também manda verificar latest compatibility no official website.
12. DB2160
Ares Acres mantém rota ativa para DB2160, cooling hardware e T100/T70P charging accessories.
13. LEDs como primeiro branch
Separe battery/charging, DC output e AC input antes de escolher uma replacement part.

14. Charging LED
Solid yellow = connected/ready; green blink = charging; solid green = full; yellow blink = warning; red blink = error.
15. Warning/error
Conecte o remote controller e veja detailed diagnostics antes de substituir battery, charger ou cooling hardware.
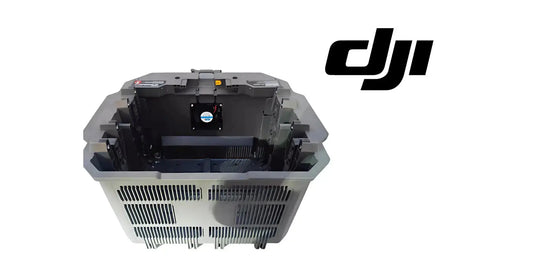
16. Cooling do C12000
Mantenha dustproof cover e fan airflow limpos.
17. Battery cooling é outro subsystem
Heat sink/cooling station cuida da battery; ventilation/dustproof system cuida do charger.
18. Storage
Proteja connectors e mantenha o equipment em ambiente adequado conforme a source.
19. Connector inspection
Revise debris/damage antes de conectar.
20. Fast-charge checklist
- qualified electrician;
- correct three-phase supply;
- breaker OFF;
- cable/safety pins;
- L1/L2/L3/PE verified;
- ventilation clear;
- battery cooling ready;
- compatible battery.
21. Slow-charge checklist
- correct single-phase supply;
- conversion cable;
- ventilation;
- cooling;
- compatible battery;
- LED monitoring.
22. Charging record
- C12000 model;
- mode;
- input type;
- battery ID;
- cooling hardware;
- LED state;
- warning/error;
- charge complete;
- operator/electrician.
23. Erro: fast = slow wiring
Não.
24. Erro: PE como neutral
Proibido pela source.
25. Erro: battery antes do heat-sink cable
Use cable first.
26. Erro: trocar part por LED isolado
Leia diagnostics.
27. Erro: bloquear airflow
Cooling depende disso.
28. Perguntas frequentes
Batteries listadas?
DB2100, DB1580 e DB2160.
Fast charging DIY?
Não.
Heat-sink sequence?
Cable primeiro, battery depois.
Red LED identifica a peça?
Não necessariamente.
Por que limpar dustproof cover?
Para manter airflow/cooling.
Fonte e revisão
Fonte principal: DJI C12000 Intelligent Power Supply User Guide v1.0 (2025), English section, Figures A–H e Specifications.
29. O C12000 deve ser tratado como um sistema, não apenas um charger
O workflow completo depende de quatro camadas: input power adequado, charger em estado normal, cooling no lado da battery e uma compatible Intelligent Flight Battery. Um problema em qualquer camada pode interromper charging sem significar que o C12000 inteiro está defeituoso.
30. Diferencie AC input, DC output e charging-channel issues
Os diagnostic channels existem justamente para evitar replacement por tentativa. Se o warning aparece no AC side, investigue input/site power; se aparece no DC side, siga esse branch; se o charging channel acusa warning, verifique battery/cooling/connection e detailed diagnostics.
31. Activation e firmware pertencem ao commissioning
Antes de colocar o charger em operação diária, documente activation status e firmware version. Se um warning surgir depois de update, esse baseline ajuda a separar software state de hardware fault.
32. Fast/slow mode deve aparecer no charging record
O mesmo C12000 pode operar por paths elétricos diferentes. Registrar qual mode estava em uso ajuda a explicar por que um issue aparece em um site e não em outro.
33. Cooling inspection deve preceder repeated-charge cycles
Em operações de alta rotatividade, confira charger airflow, dustproof cover e battery-side cooling antes de uma sequência longa de charges. Heat dissipation reduzida pode afetar throughput e diagnostics.
34. Handoff entre charging shifts
- C12000 model;
- activation/firmware state;
- mode usado;
- battery ID atualmente charging;
- cooling hardware;
- último LED/warning;
- qualquer battery removida de serviço;
- próxima ação requerida.