DJI C12000 + DB2160: Charging Workflow con Cooling Station
DJI C12000 + DB2160: Charging Workflow con Air-Cooled Heat Sink y Cooling Station
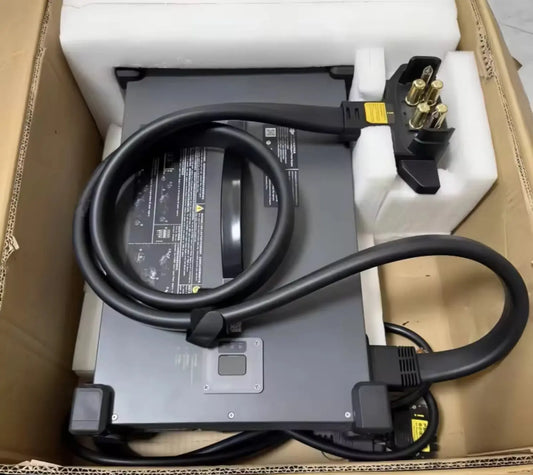
El battery-side workflow del DJI C12000 Intelligent Power Supply User Guide v1.0 es corto pero importante: el charging cable se conecta al air-cooled heat sink antes de colocar la compatible Intelligent Flight Battery. Esta guía amplía ese sequence con site setup, cooling, LED interpretation y service handoff.
Respuesta rápida: prepare una charging site estable con ventilation, mantenga aproximadamente 50 cm de clearance alrededor del C12000 y al menos 30 cm entre charging battery y power supply, conecte el C12000 al cooling interface primero y luego coloque la battery en el heat sink/cooling station. Monitoree el charging LED: solid yellow = connected/ready, green blink = charging, solid green = full, yellow blink = warning, red blink = error.

1. Prepare una superficie estable
Coloque el C12000 y cooling hardware sobre una superficie firme donde cables, airflow y battery placement puedan mantenerse sin tensión innecesaria.
2. Preserve airflow alrededor del C12000
La charging-site guidance utiliza aproximadamente 50 cm de ventilation clearance alrededor del power supply.
3. Mantenga la charging battery separada del power supply
Use al menos 30 cm de distancia y evite colocar la battery frente a ventilation openings.

4. Conecte el charging cable al cooling interface primero
Este es el orden explícito del Figure E workflow. No empiece colocando la battery en el heat sink y después intentando conectar el charger alrededor de ella.
5. Coloque la compatible Intelligent Flight Battery después
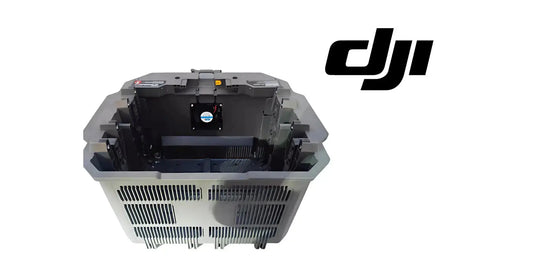
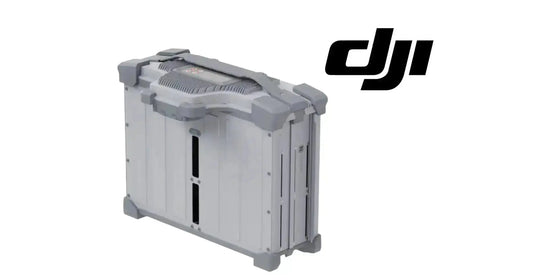
Una vez conectado el cooling/charging interface, coloque la battery en el heat sink o cooling station compatible.
6. Compatible battery families de User Guide v1.0
La specification table lista DB2100, DB1580 y DB2160. El current verified Ares Acres direct path es DB2160.
7. DB2160 no significa que todo cooling hardware sea universal
Confirme exact fitment entre battery, cooling station/air-cooling system y aircraft power ecosystem antes de replacement.
8. Battery-side cooling y charger cooling son dos capas
El cooling station maneja heat de la battery. El C12000 también necesita airflow propio por ventilation holes y dustproof cover.
9. Hot battery after flight
La related battery guidance indica que batteries pueden estar calientes después del flight y deben enfriarse con official air-cooled heat sink o suitable heat-dissipation equipment antes de charging cuando corresponda.
10. No comprometa cooling por throughput
La battery guidance instruye charge one battery at a time para no comprometer heat dissipation. Mantenga esa discipline cuando el C12000 se usa en operaciones intensivas.
11. Charging-channel LED — solid yellow
Battery connected y ready.
12. Repeating green blink
Charging in progress.
13. Solid green
Fully charged.
14. Yellow blink
Warning. Obtenga detailed diagnostic information antes de reemplazar parts.
15. Red blink
Error. No use el color aislado para decidir qué hardware falló.

16. Si aparece warning/error
Conecte el remote controller y revise detailed diagnostics. Separe battery issue, cooling issue, charging-channel problem y power-supply input/output before service.
17. Si la battery no inicia charging
- confirmar compatible battery;
- confirmar cable-to-heat-sink connection;
- confirmar battery seating;
- revisar battery temperature;
- revisar charging LED;
- obtener detailed diagnostic message;
- solo después seleccionar service path.
18. Si charging empieza pero se interrumpe
Registre LED state, battery temperature, cooling operation y any diagnostic text. El sequence ayuda a separar thermal event de connection/power issue.
19. Si el cooling fan parece débil
Revise airflow, protective mesh/dustproof condition y contamination antes de concluir motor/fan failure.
20. C12000 dustproof-cover maintenance
El charger necesita regular cleaning de dustproof cover para mantener heat dissipation. Un clean battery-side fan no compensa un blocked charger airflow path.
21. Transport del cooling hardware
La battery guidance indica remover charging cable antes de transportar el air-cooled heat sink con battery connected.
22. No rinse del heat sink
La related battery section indica no enjuagar el heat sink con agua; limpie protective mesh y cooling fan según maintenance guidance.
23. Daily charging-station checklist
- C12000 airflow clear;
- dustproof cover condition;
- cooling station clean;
- charging cable undamaged;
- battery exact model verified;
- battery temperature acceptable;
- 50 cm charger clearance;
- 30 cm battery spacing;
- LED state normal;
- no unresolved diagnostic warning.
24. Fleet rotation workflow
Para multiple batteries, registre qué pack está cooling, charging, full o waiting. No dependa únicamente de ubicación física alrededor del charger.
25. Charging log recomendado
- battery ID;
- battery model;
- C12000 model;
- cooling hardware;
- start temperature/status;
- start LED;
- warning/error;
- charge complete time;
- post-charge status.
26. Error común: battery first, cable second
El source Figure E muestra cable first.
27. Error común: battery pegada al charger
Mantenga el required site spacing/airflow.
28. Error común: warning LED = bad battery
No necesariamente. Use diagnostics.
29. Error común: limpiar solo el battery fan
El C12000 también necesita dustproof-cover/airflow maintenance.
30. Preguntas frecuentes
¿Qué conectar primero?
Charging cable al heat sink/cooling interface.
¿Después?
Coloque la compatible battery.
¿Qué significa green blink?
Charging.
¿Solid green?
Fully charged.
¿Yellow/red blink?
Warning/error; revise detailed diagnostics.
Fuente y revisión
Fuente principal: DJI C12000 Intelligent Power Supply User Guide v1.0 (2025), Figure E, charging procedures y compatible-battery specification.