DJI C12000 Intelligent Power Supply: Guía Completa de Uso y Charging
Share
DJI C12000 Intelligent Power Supply: Guía Completa de Uso, LEDs, Fast/Slow Charging y Maintenance
El DJI C12000 Intelligent Power Supply es el charger de alta potencia del ecosistema T100/T70P y otros compatible battery systems definidos por DJI. Su User Guide v1.0 separa claramente cuatro áreas: site safety, status LEDs, activation/firmware, y fast versus slow charging. El charger no debe tratarse como un simple AC adapter: maneja high-current power, comunica battery/charging faults y requiere un charging site correctamente ventilado.
Resumen: el C12000 model CSX901-12000 puede entregar hasta 12,000 W en fast charging con three-phase power y hasta 3,000 W en slow charging con single-phase power. DJI exige qualified electrician para fast-charge wiring. Mantenga al menos 50 cm de ventilación alrededor del charger y más de 30 cm entre charger y charging battery. Operating temperature: 0–40°C. Compatible batteries listadas en el User Guide: DB2100, DB1580 y DB2160.
1. C12000 component map
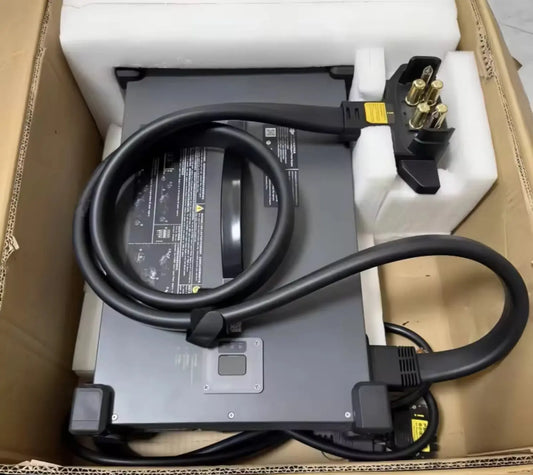
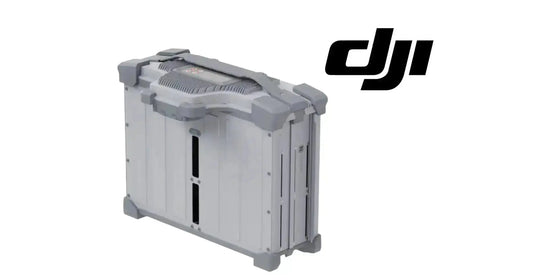
El charger incorpora charging cable, USB-C port, AC power port, ventilation openings, status LEDs, carrying handle y dustproof cover. Cada componente pertenece a un diferente diagnostic branch.
2. The charging cable is not a carrying handle
DJI warns not to move or carry the unit by pulling the charging cable.
3. Ventilation is a primary safety requirement
Place the C12000 on a flat, stable surface with at least 50 cm clear around the ventilation openings.
4. Charger-to-battery spacing
DJI says to maintain at least 30 cm between the charger and the charging battery and keep the battery away from charger airflow outlets.
5. Do not operate on carpet or blankets
Charging equipment and batteries should not be placed on flammable soft surfaces that trap heat.
6. Keep away from heat, water and corrosives
The charger should be kept away from heat sources, high voltage hazards, water, flammable gases and corrosive material.
7. Direct sunlight and rain are prohibited operating conditions
The guide says not to use or store the product in direct sunlight, rain or other wet environments.
8. Environmental temperature guidance
The manual lists -5°C to 40°C for keeping/storing the product and the specification table lists an operating temperature of 0°C to 40°C.
9. Fast charging requires a qualified electrician
DJI explicitly limits fast-charging electrical connection work to qualified electricians wearing insulated gloves.
10. Fast-charge source requirement
The User Guide states that fast charging requires a 380 V three-phase power supply with output power of at least 15 kW.
11. Do not improvise high-voltage wiring
Use the current DJI wiring diagram and local electrical code. This guide does not replace electrician verification.
12. Fast-charge breaker sequence
The upstream air circuit breaker should be off before the fast-charge connection is made or removed.
13. Protective earth matters
DJI warns not to connect protective earth to a neutral or live terminal.
14. Fast charging input specification
For CSX901-12000, DJI lists 175–520 VAC, 50/60 Hz, 22 A max three-phase input.
15. Fast charging output specification
DJI lists 62 VDC, 194 A, 12,000 W max.
16. Slow charging source requirement
Slow charging uses 220 V single-phase power with at least 3.6 kW available according to the User Guide.
17. Slow charging input specification
For CSX901-12000, DJI lists 200–264 VAC, 50/60 Hz, 16 A max.
18. Slow charging output specification
Output is listed as 62 VDC, 48 A, 3,000 W max.
19. No hot-plugging during slow charging setup
DJI prohibits hot-plugging because of arcing risk.
20. Conversion cable is part of the slow-charge path
The slow-charge configuration uses the supported conversion cable and regional slow-charging cable.
21. Charger activation before first use
Connect the remote controller to the charger, open DJI Agras, then go to Device Management → Charging Device to activate the unit.
22. Firmware updates happen through DJI Agras
When new firmware is available, follow the on-screen update instructions.
23. DC output LED: four yellow flashes
This indicates that the charger has not yet been activated.
24. Charging-channel LED: solid yellow
Battery connected and ready for charging.
25. Charging-channel LED: repeating green blink
Charging in progress.
26. Charging-channel LED: solid green
Charging completed / battery fully charged.
27. Charging-channel LED: repeating yellow blink
Battery or charging-channel warning.
28. Charging-channel LED: repeating red blink
Battery or charging-channel error.
29. DC-output yellow blink
DC-output warning.
30. DC-output red blink
DC-output error.
31. AC-input yellow blink
AC-input warning.
32. AC-input red blink
AC-input error.
33. Use the remote controller for deeper diagnostics
If a status LED is blinking, DJI tells operators to connect the remote controller and inspect the detailed error in DJI Agras.
34. Do not replace parts from LED color alone
A warning may originate from battery, AC source, DC output, charger temperature or connection path.
35. Battery connection uses the air-cooled heat sink
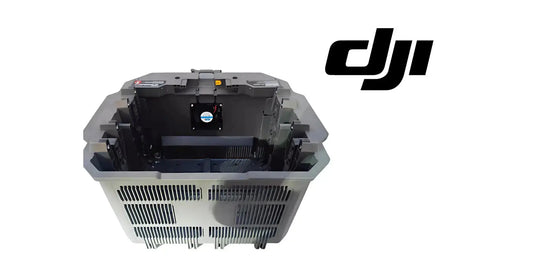
For the supported workflow, connect the C12000 charging cable to the air-cooled heat sink, then place the battery into the heat sink.
36. Cooling is not optional throughput hardware
Hot agricultural-drone batteries may not accept charging correctly until temperature is controlled.
37. Never unplug AC or charging cables while charging
DJI says to complete the charging process and de-energize the source before disconnecting as specified.
38. Connector contamination must be cleaned with power removed
If buildup appears on the charging connector, disconnect external power before cleaning.
39. Dustproof cover maintenance
Clean the fan dustproof cover regularly so cooling performance is not reduced by accumulated debris.
40. Fire-response equipment
The C12000 guide specifies a dry-powder fire extinguisher and warns that liquid extinguishers can create electrical danger.
41. Compatible batteries listed by DJI
The User Guide v1.0 lists DB2100 / DB1580 / DB2160 Intelligent Flight Battery as compatible.
42. Compatibility still needs current verification
DJI includes a footnote telling users to check the official website for the latest battery-compatibility information. Market, charger variant and battery generation can matter.
43. CSX901-12000H variant
The guide also lists a CSX901-12000H version with 52–62 VDC output and up to 230 A in fast charging, while retaining the same overall 12,000 W maximum.
44. Site setup checklist
- flat, stable surface;
- dry/open charging environment;
- 50 cm ventilation clearance;
- 30 cm charger-to-battery separation;
- no carpet/blanket;
- no nearby flammables/corrosives;
- correct electrical source;
- qualified electrician for fast-charge connection;
- air-cooled heat sink available;
- dry-powder extinguisher available.
45. First-use checklist
- inspect charger/cables;
- connect remote controller;
- open DJI Agras;
- activate Charging Device;
- update firmware if required;
- verify no status-LED fault;
- confirm correct battery compatibility.
46. Fast-charge workflow
- qualified electrician verifies three-phase source;
- upstream breaker is de-energized;
- supported fast-charge cable is connected and secured;
- electrical connection is completed per DJI/local code;
- breaker is energized;
- charging cable is connected to the cooling interface;
- battery is placed in the heat sink;
- LED/app status is monitored;
- after charge, upstream power is de-energized before disconnection.
47. Slow-charge workflow
- verify 220 V single-phase source ≥3.6 kW;
- connect supported conversion cable with no hot plugging;
- connect regional slow-charge cable;
- connect battery through supported cooling interface;
- monitor LEDs/app;
- disconnect from wall power before removing conversion cable.
48. Storage procedure
When not in use, disconnect AC power and disconnect the charging cable from the battery, then keep the charger in a stable place.
49. Maintenance procedure
Regularly clean the dustproof cover and inspect the charging connector, ventilation openings and cables.
50. Common error: assuming 12 kW from a single-phase outlet
The manual lists 3,000 W maximum slow-charge output for the single-phase path.
51. Common error: plugging into battery storage area
DJI says not to use the charger in an area where batteries are stored.
52. Common error: insufficient ventilation
Maintain the published spacing around the charger and battery.
53. Common error: ignoring a blinking LED
Use DJI Agras to read the detailed fault.
54. Frequently asked questions
What is the maximum fast-charge power?
12,000 W.
What source does fast charging require?
DJI specifies 380 V three-phase with at least 15 kW available.
What is slow-charge power?
Up to 3,000 W on CSX901-12000.
Which batteries are listed compatible?
DB2100, DB1580 and DB2160 in User Guide v1.0.
What is operating temperature?
0°C to 40°C.
How do I diagnose a blinking LED?
Connect the remote controller and read the charger details in DJI Agras.
Source and revision
Primary source: DJI C12000 Intelligent Power Supply User Guide v1.0 (2025-07-15). Compatibility and electrical requirements should be verified against the current guide for the exact market/version.