DJI D14000iE: Setup, Instalación, Componentes y Primer Uso
DJI D14000iE: Guía de Setup, Instalación, Componentes y Primer Uso
Antes de usar el DJI D14000iE Multifunctional Inverter Generator como power source de campo, DJI exige completar el assembly físico necesario, conocer los service points principales y verificar que engine oil y fuel estén preparados. Esta guía sigue el User Manual v1.0 sin inventar torque values o assembly details no publicados.
Respuesta rápida: si retira los supporting feet cercanos al muffler, soporte el generator a la misma altura para evitar que se incline hacia atrás. Instale casters con wheel shaft, washer y clip, y monte handles con clip/handle/bolt como muestra el manual. Después localice oil gauge, status LEDs, operation panel, charging cable, air filter, spark arrestor, muffler shield y dipstick. El engine sale de fábrica sin engine oil: añada SJ 10W-40 o equivalent antes del first use y no encienda el generator antes de agregar engine oil y gasoline.

1. Supporting feet
DJI recomienda retirar los dos supporting feet cerca del muffler cuando el generator necesita moverse sobre uneven ground. Si no necesita esa mobility setup, el paso puede omitirse.
2. Support the frame before removing feet
Antes de retirar esos feet, coloque un wooden o rubber block bajo el generator a la misma altura para evitar que el frame se incline hacia atrás.
3. Caster assembly
El caster utiliza wheel shaft → washer → clip según el illustration sequence. No improvise retention hardware.
4. Handle assembly
Monte handles con el clip/handle/bolt arrangement mostrado por DJI. Es un assembly step independiente del caster setup.
5. Complete mobility check
Después de casters y handles, verifique que hardware esté seated y que el generator permanezca stable antes de moverlo.
6. Component map — fuel system
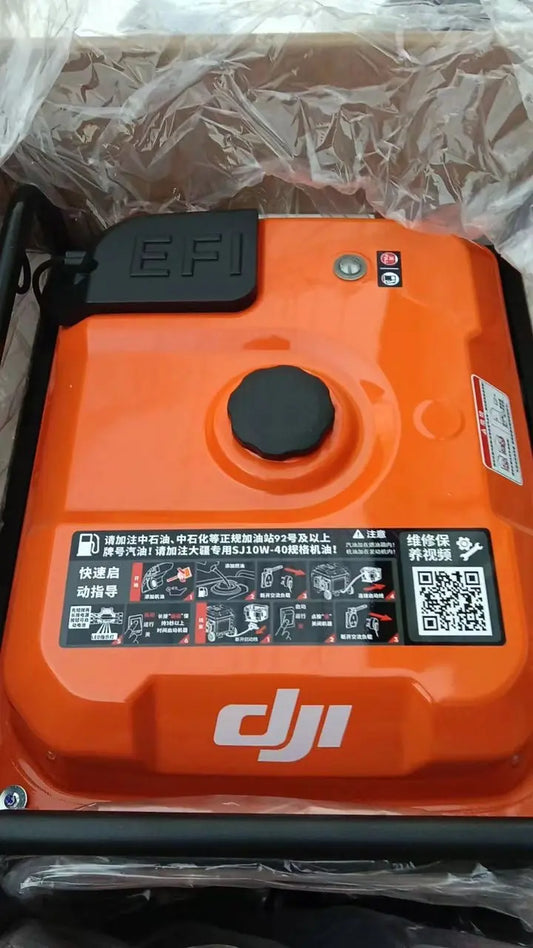
Ubique fuel tank y fuel cap antes del first start. El fuel system aparece como subsystem separado de oil, charging y electrical controls.
7. Oil level gauge
Conozca dónde leer el oil level antes de operación diaria.
8. Three status LEDs
La front panel incluye charging-channel, AC-module y generator status LEDs. Cada uno diagnostica un branch distinto.
9. Operation panel
Incluye engine switch, USB-C, AC outlet y ground terminal. No confunda operation controls con service components.
10. Charging cable
Es el battery-charging path del generator. Inspeccione connector/cable condition antes de usar.
11. Control unit
La source identifica el control unit como parte del component map; no lo reemplace como first-response component sin diagnostics.
12. Fan hood
Ubique el fan hood porque airflow y debris around this area forman parte del pre-operation safety check.
13. Air filter
Localice el air-filter service point. Un dirty filter puede reducir airflow hacia el electronic fuel-injection unit y reducir performance.
14. Spark arrestor
Forma parte del exhaust-side maintenance system y tiene su own maintenance procedure.
15. Muffler shield
Revise que esté secure antes de operation. Mantenga flammable material lejos de esta zona.
16. Engine-oil dipstick
Se utiliza en daily oil-level check y oil maintenance.
17. Additional service points
La continuation del map identifica spark plug, engine-oil drain hose, electronic fuel-injection unit y high-pressure oil pipe.

18. Factory-shipped without engine oil
Este punto es crítico: el engine sale de fábrica sin engine oil.
19. Oil specification
DJI indica SJ 10W-40 o equivalent para el first-use preparation.
20. Add gasoline before first start
No power on the generator before adding both engine oil and gasoline.
21. Setup does not replace pre-operation inspection
Después del assembly físico, pase al daily checks de fuel, oil, air filter, spills, loose hardware y flammables.

22. First-use commissioning checklist
- supporting feet/casters configured;
- handles installed;
- generator stable;
- component map understood;
- engine oil added;
- gasoline added;
- no visible leaks;
- air filter inspected;
- muffler/fan area clear;
- operation panel inspected;
- charging cable inspected;
- activation/firmware workflow ready.
23. Receiving record
Capture photos before field deployment to document transport damage, missing mobility hardware or panel damage.
24. If a caster or handle is missing
Do not improvise incompatible mobility hardware. Confirm exact replacement/assembly path first.
25. If the frame tilts during foot removal
Stop and support the generator at the proper height before continuing.
26. If oil has not been added
Do not start the engine.
27. If fuel or oil leakage is visible
Do not move directly into charging operation; treat leakage as a pre-operation fault.
28. Error común: “new generator = ready to start”
No; engine oil must be added.
29. Error común: remove supporting feet without support block
DJI warns against rearward tilt.
30. Error común: unknown component locations
Learn the map before field use.
31. Preguntas frecuentes
¿Viene con engine oil?
No.
¿Oil type?
SJ 10W-40 o equivalent.
¿Supporting feet siempre se retiran?
No; only when needed for uneven-ground mobility.
¿Qué instala el caster?
Wheel shaft, washer y clip según el diagram.
¿Qué sigue del setup?
Pre-operation inspection, activation y starting/charging workflow.
Fuente y revisión
Fuente principal: DJI D14000iE Multifunctional Inverter Generator User Manual v1.0 (2025.06), pp. 4–7 y 10–11.