DJI Agras T70P Setup Guide: First Charge, Aircraft Preparation & Activation
The first ten pages of the DJI AGRAS T70P User Manual establish the commissioning sequence before any flight or spraying task begins. The process is straightforward, but several details matter: the remote-controller internal battery must be activated by charging, the aircraft arms must be unfolded and folded in the correct order, the flight battery must be inserted only while the aircraft is powered off, and both the aircraft and controller require activation through DJI Agras.
Quick Answer: Charge the remote controller before first use, prepare its antennas and optional RTK dongle, unfold the T70P using DJI's illustrated sequence, firmly install the flight battery while the aircraft is powered off, power on the controller and aircraft, and complete activation through DJI Agras with the controller connected to the internet.

1. Charge the remote controller before first use
DJI states that the remote controller's internal battery must be charged to activate it before first use. Otherwise, the controller cannot be powered on. The battery-level LEDs begin flashing when the internal battery is activated.
This makes charging the first commissioning checkpoint, not an optional convenience step. Later in the controller chapter DJI specifies the DJI 65W Portable Charger or a locally certified USB-C charger with a maximum rated power and voltage of 65 W and 20 V.
2. Prepare the remote controller
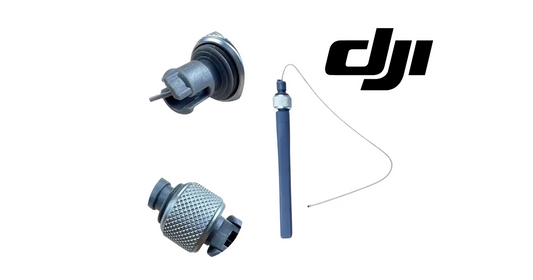
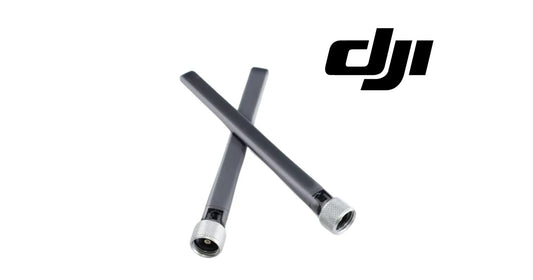
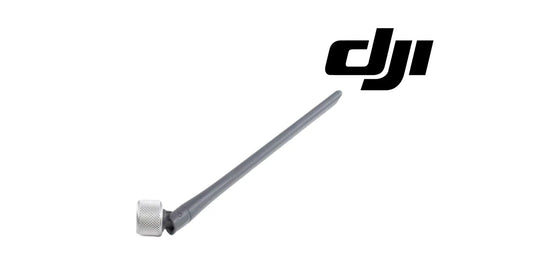
Raise and adjust the controller antennas into the illustrated operating position. The manual also shows how to mount the RTK dongle when that planning workflow is required. Antenna orientation matters because the controller's transmission strength changes with antenna position.
3. Prepare and unfold the aircraft

The T70P manual labels the four arms M1 through M4 and illustrates the unfolding sequence. When folding the aircraft again, DJI says to reverse the unfolding order and secure the arms in the storage clamps on both sides. Incorrect folding can damage the arms.
4. Install the flight battery only with the aircraft powered off
Make sure the battery is firmly attached to the aircraft. DJI explicitly says to insert or remove the battery only when the aircraft is powered off. To remove it, press and hold the clamp and lift the battery upward.
5. Power on and activate
The aircraft and remote controller both require activation before first use. DJI uses its standard two-stage power-button input: press once, then press again and hold. Run DJI Agras and follow the on-screen activation prompts. The controller needs internet access during activation.
What to verify before the first flight
Activation is not the same as preflight readiness. After setup, continue to the dedicated T70P Preflight, Takeoff, Flight Modes & Return-to-Home Guide. That article covers the full flight-readiness checklist, compass calibration, motor start, takeoff and RTH behavior.
Primary T70P equipment paths
The complete aircraft is available through the DJI Agras T70P Agro Sprayer Drone Full Set with Generator. For model-specific service and replacement hardware, use the DJI Agras T70P Parts collection.
Parts & Equipment Referenced in This Guide
- DJI Agras T70P
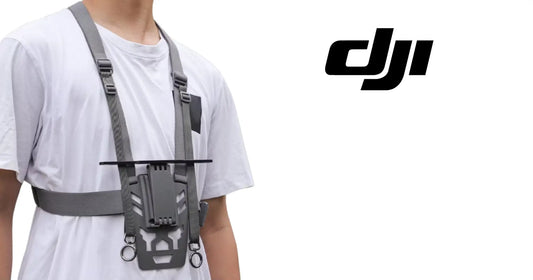
- T100/T70P RC Plus Controller Lanyard & Bracket Kit
- DJI Agras Universal Remote Controller Protective Cover
Shop Related Collections
Related T70P Tutorials
- T70P Aircraft Systems, Radar, Vision & RTK
- T70P Remote Controller, DJI Agras, Firmware & 4G
- Complete T70P User Manual Guide
Source and revision note
Primary source: DJI AGRAS T70P User Manual v1.0, 2025.11, sections 1.1 and the first-use illustrations on pages 8-10.