DJI O4 Relay Linking & Activation Guide with DJI Agras
The O4 Relay links in two stages: first to the remote controller, then automatically to the aircraft. DJI's English guide also specifies the physical linking distance, the expected RC and UAV status LEDs, and what to do if the app reports an aircraft-model mismatch.
Quick Answer: Power on the already-linked aircraft and remote controller. Power on the relay and, after its status LEDs become solid red, press and hold the power button to enter linking mode. In DJI Agras, open Device Management → Relay. The RC link is successful when the RC status LED is solid green; the aircraft then links automatically and the UAV status LED becomes solid green. Keep the aircraft and remote controller within 0.5 m of the relay during linking.

1. Confirm the aircraft and remote controller are already linked
Power on the remote controller and aircraft and make sure those two devices are linked before adding the relay to the chain.
2. Put the relay into linking mode
Power on the O4 Relay. When the status LEDs are solid red, press and hold the power button to prepare for linking.
3. Link the remote controller to the relay
Open DJI Agras and select Relay in Device Management. Linking between the remote controller and relay is successful when the relay's RC status LED becomes solid green.
4. Let the aircraft link automatically
Once the remote controller is connected, DJI says the relay will link with the aircraft automatically. The aircraft side is confirmed when the UAV status LED becomes solid green.

Keep all three devices close during linking
DJI says the remote controller and aircraft should be within 0.5 m of the relay while linking.
If linking fails
Check the operating steps and firmware version, then try again. If the app reports that the aircraft model does not match, connect the relay to the remote controller's USB-C port, follow the app prompts to switch models, then retry linking.
Activation is required before first use
A new relay must be activated. After linking, follow the DJI Agras activation prompts, or connect the relay to the remote controller USB-C port to activate it.
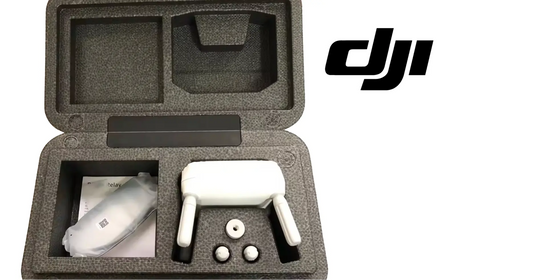
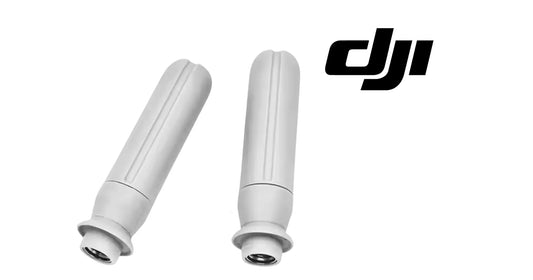
The relevant hardware paths are the DJI O4 Relay Signal Repeater System, O4 Relay Antenna Pair and DJI Agras T100 OEM Remote Controller.
Parts & Equipment Referenced in This Guide
Shop Related Collections
Related Tutorials
- O4 Relay LED & Battery Status Guide
- O4 Relay Firmware Update Guide
- Existing DJI Agras Relay Tutorial
Source and revision note
Primary source: DJI O4 Relay User Guide v1.0 (2024), English Linking and Activating section.