DJI O4 Relay Setup Guide: Charging, Antennas, Power-On & Extension Rod Installation
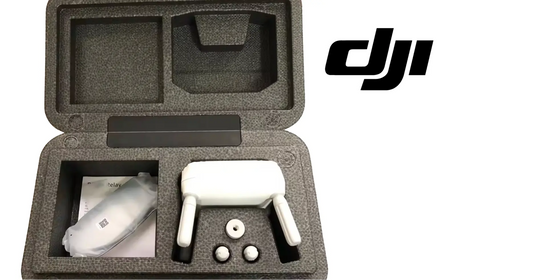
The DJI O4 Relay User Guide v1.0 presents first use as a four-step visual sequence: charge the relay, mount the antennas, power it on, then install the mount and an extension rod. This article expands those illustrations into a field-ready setup checklist while preserving the manufacturer's sequence.
Quick Answer: Charge the relay with a USB Power Delivery charger, install both antennas, power the relay on by pressing the power button and then pressing and holding it, and install the mount plus an extension rod. DJI notes that the extension rod is not included.

1. Charge the relay

DJI recommends using a USB Power Delivery charger. After field use, do not immediately recharge a hot internal battery; allow it to cool to near room temperature first. The dedicated battery-care article below covers the specified charging temperature range.
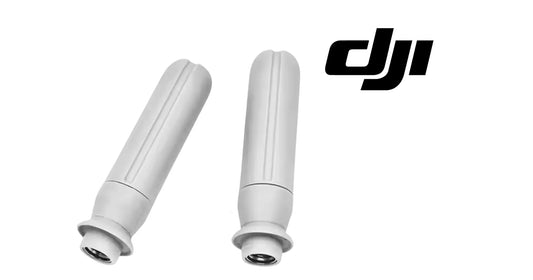
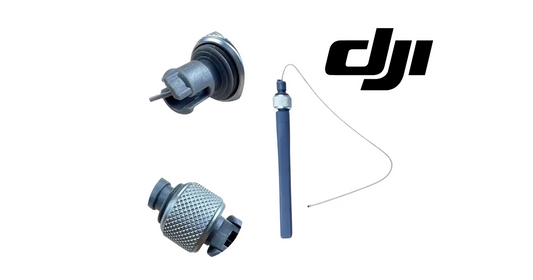
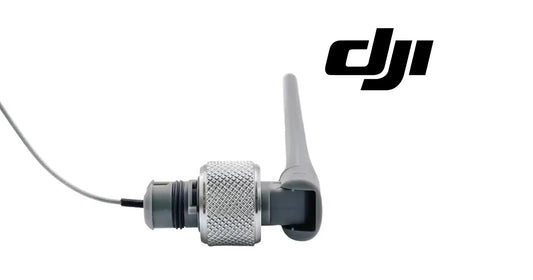
2. Mount the antennas

The relay should be used with its antennas installed and unobstructed. If an antenna pair is damaged or missing, the verified replacement path is the DJI Agras T100 OEM O4 Relay Antenna (Pair).
3. Power the relay on

DJI uses the same two-stage button behavior for power on/off: press once, then press and hold.
4. Install the mount and extension rod

Install the mount and your extension rod as illustrated. The separate field-placement guide explains DJI's recommendation to position the relay at least 2 m higher than the crops.
The complete hardware is available as the DJI Agras T100 OEM O4 Relay Signal Repeater System (USA Version).
Parts & Equipment Referenced in This Guide
Shop Related Collections
- DJI Agras T100 Radar, RTK & Sensor Parts
- DJI Agras T100 Remote Controller Parts
- DJI Accessories
- DJI T100 Parts
Related Tutorials
- O4 Relay Linking & Activation
- O4 Relay Field Placement & Signal Safety
- Existing DJI Agras Relay Tutorial
Source and revision note
Primary source: DJI O4 Relay User Guide v1.0 (2024), illustrated setup sequence and English Usage section.