DJI Agras T100 Setup Guide: First-Time Charging, Assembly & Activation
A new DJI Agras T100 should not begin with guesswork. DJI’s first-use sequence is short—charge the required devices, prepare the remote controller, prepare the aircraft, install the flight battery correctly, power on, and activate—but the steps are spread across several illustrated pages. This guide reorganizes that sequence into a field-friendly commissioning workflow while keeping the DJI AGRAS T100 User Manual v1.0 (2025.11) as the technical source.
Quick Answer: Before using a DJI Agras T100 for the first time, charge the remote controller so its internal battery is activated, prepare the controller and antenna/RTK setup, prepare and unfold the aircraft according to the illustrated sequence, install the flight battery only while the aircraft is powered off and make sure it is firmly seated, then power on the aircraft and remote controller and follow the on-screen activation prompts. The remote controller needs internet access during activation.
What this guide covers
This page covers the manufacturer’s Using for the First Time sequence: charging, remote-controller preparation, antenna positioning, RTK-dongle mounting, aircraft preparation, battery installation, power-on, and activation. It is a commissioning guide, not a complete preflight checklist. After activation, continue to the model-specific preflight and operating checks before attempting flight.
That distinction also improves troubleshooting. A remote controller that will not power on during first-use setup should be diagnosed at the charging/activation layer before the aircraft propulsion system is investigated. An activation screen that will not proceed should be treated as an activation/connectivity problem before a hardware failure is assumed. A battery or arm that does not physically fit as shown should stop the setup sequence rather than be forced into the next step.
Step 1 — Charge the remote controller before first use
The T100 manual states that the remote controller’s internal battery needs to be charged to activate it before first use. Until this initial charging requirement is completed, the controller cannot be powered on. The manual identifies flashing battery-level LEDs during the initial charging process as the indication that the internal battery has been activated.

This creates the first diagnostic checkpoint: a brand-new controller that will not turn on is not, by itself, proof of a failed controller. Complete the documented first-use charge first and confirm the battery-level LED behavior described by DJI.
| Observation | First documented check | Do not assume |
|---|---|---|
| New remote controller will not power on | Complete the first-use charge that activates the internal battery | Do not immediately classify the controller as failed |
| Battery-level LEDs flash during the initial charge | This is the manual’s activation indication for the controller battery | Do not reinterpret it as an unrelated fault code |
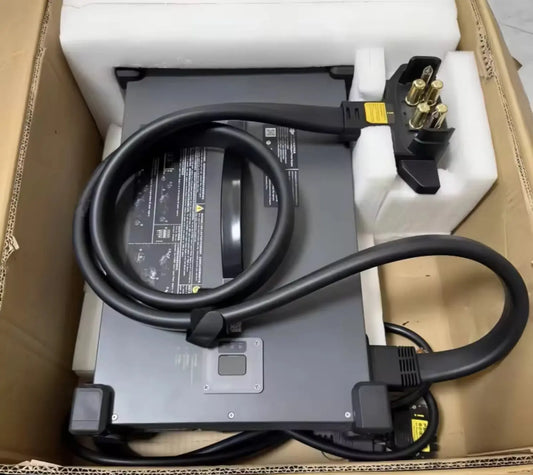
| Aircraft battery also requires charging | Use supported T100 charging equipment | Do not infer a specific charger solely from an unlabeled illustration |
Step 2 — Prepare the remote controller
After charging, the manual moves to Preparing the Remote Controller. Two physical tasks matter here: antenna positioning and, when applicable to the setup, mounting the RTK dongle.

Adjust the antennas
Position the external antennas for the operating configuration rather than leaving them folded in a storage position. This is a controller-preparation step. It should not be confused with later RTK correction-source configuration, linking, or a transmission-performance diagnosis.
Mount the RTK dongle when the workflow uses it
The first-use manual page shows the physical location and orientation of the RTK dongle on the controller. Follow that physical arrangement rather than forcing the accessory into an uncertain position. Mounting the dongle is not the same as configuring D-RTK, Network RTK, PPP, or a custom correction source. For those operating topics, continue to the T100 / T50 D-RTK 3 setup tutorial.
Step 3 — Prepare and unfold the aircraft
The aircraft-preparation pages are deliberately visual. DJI shows the folded aircraft, the arm locks/connectors, the unfolding order, the deployed configuration, and the battery-installation position. The safest digital interpretation is to preserve that sequence rather than inventing a shortcut.

Three physical rules from the manual should remain prominent:
- Make sure the flight battery is firmly attached to the aircraft.
- Insert or remove the battery only while the aircraft is powered off.
- When folding the arms for storage, use the reverse order of the unfolding sequence and secure the arms to the storage clamps on both sides.
If an arm, lock, connector, or battery does not move into the documented position normally, stop and inspect the physical condition. Do not power the aircraft simply to see whether an uncertain fit works.
Step 4 — Install the flight battery with the aircraft powered off
Battery installation deserves its own checkpoint because it is both a commissioning and safety boundary. Confirm the aircraft is powered off before inserting or removing the battery. Seat the battery firmly in the location shown by DJI. For removal, the first-use section instructs the operator to press and hold the clamp and lift the battery upward.

This guide intentionally does not add unsupported latch dimensions, connector-reset techniques, torque values, or force specifications. If the battery cannot be firmly attached in the documented orientation, use that physical condition as evidence for a parts/support diagnosis rather than improvising a fit.
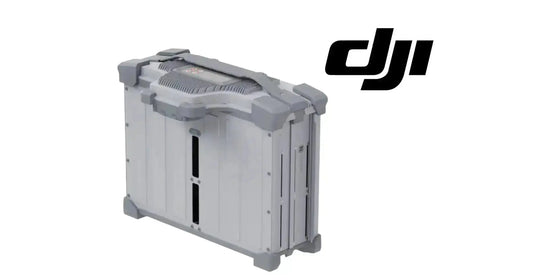
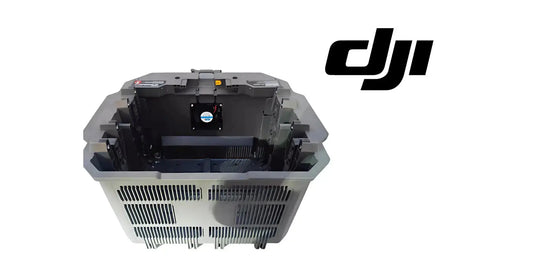
Current T100 resources include the DJI Agras T100 OEM DB2160 Intelligent Flight Battery, the C12000 Intelligent Battery Charger, and the DB2160 Battery Cooling Station. Battery charging, LED diagnostics, storage, and maintenance are covered separately in the dedicated DB2160 guide in this manual series.
Step 5 — Power on the remote controller and aircraft
For activation, DJI specifies its two-stage power-button action: press the power button, then press it again and hold to power on the devices. Do this only after the charging and physical-preparation stages are complete.
If the controller still cannot power on after its required initial charge, treat that as a controller-power issue. If the controller powers on but the activation workflow will not proceed, move to the activation/connectivity branch rather than repeatedly changing physical aircraft components.
Step 6 — Activate the aircraft and remote controller
The manual states that both the aircraft and remote controller require activation before first use. Once the devices are powered on, follow the on-screen prompts. The remote controller must be able to access the internet during activation.
A defensible troubleshooting sequence is:
- controller powers on successfully → initial controller-battery activation is no longer the immediate blocker;
- activation screen appears → follow the current on-screen prompts;
- activation cannot proceed → verify remote-controller internet access;
- an error remains → record the exact on-screen wording before diagnosing the next layer.
For the controller-specific activation workflow, use the existing DJI Agras Remote Control Activation — T100 / T50 tutorial. This page owns whole-aircraft first-time setup; the linked page goes deeper on controller activation.
Step 7 — Activation complete does not mean preflight complete
Activation finishes the first-use commissioning stage. It does not mean the aircraft is ready for an agricultural operation. Do not treat the appearance of the normal interface as permission to launch immediately. Continue to the DJI T100 / T50 Pre-Flight Safety Tutorial and the T100 preflight, takeoff, flight-mode, and Return-to-Home guide.
First-use troubleshooting: identify where the sequence stopped
| Stopping point | First check | Useful evidence | Next path |
|---|---|---|---|
| New controller will not power on | Complete the required first-use charge | Battery-level LED behavior | Controller/power support if it still cannot power on |
| Controller powers on but activation will not complete | Confirm internet access and follow the on-screen prompts | Exact screen/error wording | Controller activation tutorial or support |
| Battery does not appear firmly seated | Power aircraft off and compare the fit with the manufacturer arrangement | Photo of battery/aircraft fit and visible damage | DB2160 or aircraft physical-fit diagnosis |
| Unsure how to unfold/fold | Return to the illustrated sequence; fold in reverse order and use the storage clamps | Photo of the exact step where movement stops | Arm/airframe preparation support |
| RTK accessory mounted but positioning service is not configured | First-use setup has reached its limit | RTK source/service and app screen | D-RTK / Network RTK configuration tutorial |
| Activation complete and ready to operate | Continue to preflight | Aircraft status, payload setup, field/route plan | Preflight and normal procedures |
Common first-time setup mistakes
Treating a new controller that will not turn on as a failed controller
Complete the manual’s initial charging requirement first.
Installing or removing the flight battery while the aircraft is powered
The first-use section explicitly requires battery installation/removal with the aircraft powered off.
Forcing an uncertain physical fit
A battery that is not firmly attached, an arm that does not follow the illustrated sequence, or a connector that appears misaligned is a reason to stop and inspect.
Confusing RTK-dongle mounting with RTK configuration
The commissioning page covers physical mounting; correction-source selection and RTK operation are separate subjects.
Skipping preflight after activation
Activation verifies first-use commissioning. Preflight verifies the aircraft, environment, payload, app status, and operation before flight.
Relevant T100 equipment and support paths
- DJI Agras T100 Agro Sprayer Drone — Platinum Set
- DJI T100 Parts
- DJI Parts
- DJI Accessories
- Full Ares Acres Product Catalog
If the setup symptom does not identify a specific assembly, do not guess a replacement part. Capture the exact on-screen message or physical condition first, then use the Ares Acres diagnostic/Parts Finder path to narrow the affected system.
Frequently asked questions
Does the DJI Agras T100 need activation before first use?
Yes. The manual states that both the aircraft and remote controller require activation before first use.
Why will my new T100 remote controller not power on?
One documented first-use cause is that its internal battery has not yet been charged and activated. Complete the initial charging step first.
Does the remote controller need internet for activation?
Yes. DJI instructs the user to ensure the remote controller can access the internet during activation.
How do I power on the T100 and its controller?
For the activation sequence, press the power button, then press it again and hold.
Can I install the T100 battery while the aircraft is powered on?
No. The first-use section says to insert or remove the battery only while the aircraft is powered off.
Can I fly immediately after activation?
No. Activation completes commissioning, not the full preflight process.
Source and revision note
Primary technical source: DJI AGRAS T100 User Manual, v1.0, 2025.11, pp. 8–12, including the first-use charging, remote-controller preparation, aircraft preparation, battery installation, and activation material. This Ares Acres article reorganizes that source around first-time setup and troubleshooting rather than reproducing the manual page-by-page.