DJI Agras T100 Remote Controller & DJI Agras App Guide
The DJI Agras T100 remote controller is the control station for flight, spraying, route operations, device status, firmware checks, logs, Health Management System access, FPV/map switching, RTK-related accessories and the DJI Agras operating interface. A useful controller guide therefore needs to connect physical controls to what the operator sees in the app—not simply list buttons.
Quick Answer: The T100 remote controller combines a touchscreen, flight sticks, dedicated spray/spread and RTH controls, configurable buttons, external/internal antennas, USB-A/USB-C and HDMI connectivity, WB37 battery support, status/battery LEDs, and the DJI Agras app. The controller is linked to the aircraft by default; a new controller must be linked before use. LED colors identify connection, firmware and battery states, while the DJI Agras Home Screen and Operation View provide the aircraft status, logs, HMS, telemetry, radar/obstacle information and operation settings needed for field work.
Remote controller overview
The manual identifies 33 physical features across the controller. The main operator-facing controls include the touchscreen, connection/status LEDs, control sticks, back button, L1/L2/L3 and R1/R2/R3 buttons, RTH button, microphone, battery LEDs, power button, 5D button, flight-pause button, external antennas, C1/C2/C3 buttons, left and right dials, Spray/Spread button, flight-mode switch, HDMI port, USB-A port, FPV/Map switch, scroll wheel, internal antennas, rear cover, WB37 battery compartment, dongle compartment, microSD slot, USB-C port, air intake and mounting bracket.

Two ideas simplify the layout. First, the controller has dedicated physical controls for time-sensitive actions such as RTH, pausing flight, spraying and flight-mode selection. Second, some functions that appear near the L1/L2/L3/R1/R2/R3 button positions in DJI Agras are designed to be operated with those physical buttons rather than by tapping the screen.
Ports and accessory connections
The USB-A port can connect supported devices such as an RTK dongle, intelligent charger or multifunctional inverter generator. The HDMI port can mirror the touchscreen to an external display, with resolution settings available in the controller display settings. The microSD slot supports local files and imported operation data. The rear battery compartment accepts a WB37 Intelligent Battery.
For current hardware paths, Ares Acres carries the DJI Agras T100 OEM Remote Controller — USA Version and related T100 parts.
Charging the controller
DJI specifies the DJI 65W Portable Charger for the remote controller. A locally certified USB-C charger can also be used within the manual’s stated maximum rating of 65 W and 20 V. The controller battery should be recharged at least every three months to reduce the risk of over-discharge during storage.

Press the controller power button once to check its internal battery level. For a first-use controller that will not power on, remember that the initial charging step is also required to activate the internal battery. That commissioning issue is covered in the T100 first-time setup guide.
Spraying-system controls
The controller’s physical controls are integrated with agricultural operations. In Manual operation mode:

- Left dial: turn left to reduce and right to increase the spray rate. The app displays the current spray rate; actual rate can vary with sprinkler model and liquid viscosity.
- Spray/Spread button: press to start or stop spraying.
- FPV/Map switch: switch between FPV and Map View in Operation View.
- Right dial: when not performing a Mapping operation, adjust FPV-camera tilt.
- C1: record Point A for an A-B operation or steer left in Manual Plus.
- C2: record Point B for an A-B operation or steer right in Manual Plus.
- C3: configurable through DJI Agras.
Customizable buttons
The manual states that L1, L2, L3, C3 and the 5D button are customizable. Open DJI Agras, enter Operation View, and use the controller/button settings to assign functions. This makes the controller adaptable to the operator’s repeated field workflow while keeping the main flight and emergency controls dedicated.
Useful button combinations
| Combination | Function |
|---|---|
| Back + Left Dial | Adjust screen brightness |
| Back + Right Dial | Adjust system volume |
| Back + Spray Button | Record the screen |
| Back + FPV/Map Switch | Take a screenshot |
| Back + 5D up | Home |
| Back + 5D down | Quick Settings |
| Back + 5D left | Recently opened apps |
Touchscreen gestures and Quick Settings
Swipe from either side toward the center to return to the previous screen. Swipe up from the bottom to return home; swipe up and hold to access recently opened apps. In DJI Agras, swipe down from the top for the status bar and twice for Quick Settings. The status area includes information such as time, Wi-Fi signal and controller battery level.
Remote controller status LED meanings

| LED state | Manual description | Diagnostic interpretation |
|---|---|---|
| Solid red | Disconnected from the aircraft | Check linking/connection state before assuming an aircraft hardware fault |
| Blinking red | Aircraft battery level is low | Respond to the aircraft-battery warning |
| Solid green | Connected with the aircraft | Normal controller-aircraft connection indication |
| Blinking blue | Controller is linking to an aircraft | Linking process is active |
| Solid yellow | Firmware update failed | Use the firmware-update troubleshooting path |
| Solid blue | Firmware update successful | Update completion indication |
| Blinking yellow | Remote-controller battery is low | Charge/controller-power action is required |
| Blinking cyan | Control sticks not centered | Center/check the sticks before continuing |
Battery-level LEDs
The controller’s battery-level LEDs display the remaining controller charge. DJI divides the indication into ranges from 88–100% down to 0–12%. For field diagnosis, the exact LED pattern is useful evidence when a power, charging or storage question arises.
Controller alerts and Silent mode
The controller can vibrate or beep for errors and warnings. DJI instructs users to read the real-time prompt on the touchscreen or in DJI Agras for the detailed meaning. Some alerts can be suppressed with Do Not Disturb, but the manual warns that Silent mode disables voice prompts and alerts including RTH and low-battery alerts. Use it cautiously in operational settings.
Optimal transmission zone
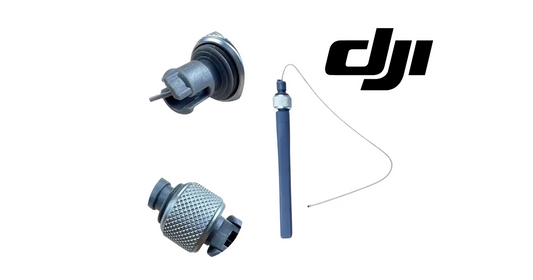
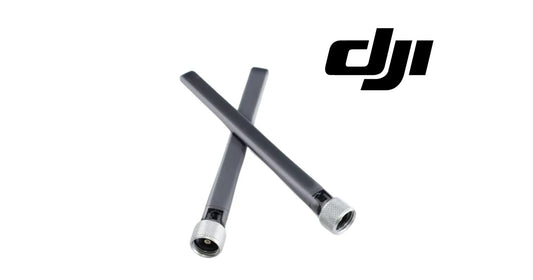
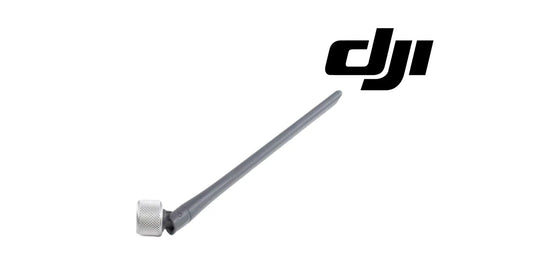
External antenna orientation affects controller signal strength. Lift and adjust the antennas so the aircraft and controller remain in the optimal transmission zone shown by DJI. If a field connection problem occurs, antenna position is one of the first low-risk checks before moving into deeper transmission or hardware diagnosis.

Linking a new T100 remote controller
The remote controller is linked to the aircraft by default. Linking is required when using a new remote controller for the first time. DJI instructs the operator to verify that the transmission distance can reach 300 m after linking before use.
- Power on the remote controller and open DJI Agras; power on the aircraft.
- In Operation View, enter the linking function. The status LED blinks blue and the controller beeps twice repeatedly when it is ready for linking.
- Press and hold the intelligent flight battery power button for five seconds. The battery LEDs blink in sequence while linking is in progress.
- When linking succeeds, the controller status LED glows solid green. If linking fails, enter linking mode again and retry.
Do not confuse linking with activation. Activation commissions the device for first use; linking establishes the controller-aircraft control relationship.
DJI Agras Home Screen
The manual identifies eight primary Home Screen areas:

- User Info
- Notification Center for changes involving the aircraft, users or operations
- General Settings
- Document Management for local and cloud files
- Log Upload for module-error solutions and error-log upload
- Device Management for connection status, firmware version and Health Management System access
- Aircraft Connection Status
- Start, which opens Operation View
This is important for diagnostics: Device Management/HMS and Log Upload are evidence sources. When a module warning exists, capture the exact HMS/app wording and logs before selecting a replacement component.
Operation View
Operation View is the working interface. The manual identifies the Mode Switch, expanded detail list, FPV Camera View, Radar Indicator, Flight Telemetry, Operation Status, Settings, Status Bar and Obstacle Indicator.

The Radar Indicator shows information such as aircraft orientation and the Home Point. When obstacle avoidance is enabled, it can display detected-obstacle information and provide access to Obstacle Avoidance, Altitude Stabilization and Obstacle Bypassing controls. The Status Bar reports information about the aircraft and controller. If obstacle avoidance is enabled and an overhead obstacle is detected, a red zone appears at the top of the screen.
The C2 control link
DJI describes the command-and-control link between the aircraft and control station as using OcuSync video-transmission antennas and system technology. The C2 link carries the controller signal to the aircraft and supports real-time operation. A controller connection problem should therefore be separated into layers: controller power, linking state, antenna/transmission environment, app status and aircraft communication hardware.
Controller troubleshooting by symptom
| Symptom | First evidence/check | Next path |
|---|---|---|
| Solid-red controller LED | Controller is disconnected from the aircraft | Check aircraft power, linking and transmission environment |
| Blinking-blue LED | Linking is active | Complete the documented linking sequence |
| Solid-yellow LED | Firmware update failed | Use the T100 firmware-update guide rather than a linking diagnosis |
| Blinking-cyan LED | Sticks are not centered | Center/check controls before flight |
| Weak transmission | Check external antenna position and interference environment | Then investigate communication hardware only if evidence remains |
| Module warning in app | Open Device Management/HMS and capture exact error; upload logs if appropriate | Use the error wording to narrow the affected system |
Common mistakes
Treating every disconnected state as a failed controller
A solid-red LED establishes disconnection, not the failed component. Verify aircraft power, linking and the transmission environment first.
Ignoring LED state while troubleshooting
The controller status LED distinguishes connection, linking, firmware and battery conditions. Record the color and pattern.
Using Silent mode without considering safety alerts
Silent mode can suppress RTH and low-battery voice alerts. The visual app state becomes even more important.
Confusing the Home Screen with Operation View
The Home Screen is the management layer; Operation View is the active operating layer with telemetry, sensing and task controls.
Frequently asked questions
Is the T100 controller linked to the aircraft from the factory?
DJI says it is linked by default. Linking is required when using a new remote controller for the first time.
What does a solid green controller LED mean?
It means the controller is connected with the aircraft.
What does a blinking blue controller LED mean?
The controller is in the aircraft-linking process.
Where do I find T100 module errors?
Use Device Management to enter HMS and use Log Upload for module-error solutions and log submission.
Can the T100 controller display be shared to another screen?
Yes. The controller has an HDMI port, and the HDMI resolution can be configured in display settings.
Where do I switch between FPV and the map?
Use the FPV/Map Switch button while in DJI Agras Operation View.
Related T100 guides
- DJI Agras T100 First-Time Setup & Activation
- T100 Radar, Vision, Obstacle Avoidance & RTK
- DJI Agras Remote Control Activation — T100 / T50
- DJI Agras Remote Operation View — T100 / T50
- DJI T100 Parts
Source and revision note
Primary technical source: DJI AGRAS T100 User Manual v1.0 (2025.11), pp. 19–28, covering the remote-controller overview, charging, physical controls, button combinations, touchscreen, LEDs, alerts, antenna position, linking, DJI Agras Home Screen, Operation View and the C2 link. Interface details can change with app and firmware versions; use the current on-screen prompts when they differ from the source revision.