DJI Agras T100 Route Mapping Quick Start: Crosshair Mapping to First Task
The Quick Start Guide compresses the first Route Mapping workflow into a single visual page. It is one of the most useful “picture-book” pages in the source because the operator can follow the DJI Agras sequence from entering Operation View through HD reconstruction, field planning and task start.
Quick Answer: Power on the remote controller and aircraft and enter Operation View. Open the mode selector and choose Route Mapping. Select Area Route or Boundary Route, set Resolution and choose Crosshair. Add boundary points, start the mapping flight, wait for offline reconstruction, plan the field, mark obstacles or no-spraying areas, set task and route parameters, then tap Start to begin the task.

1. Enter Operation View
Power on the remote controller first, then the aircraft. Enter Operation View in DJI Agras. This assumes first-time activation and preflight readiness have already been completed.
2. Select Route Mapping
Tap the mode button on the upper-left side of Operation View and choose Route Mapping from the Mapping panel.
3. Choose Area Route or Boundary Route
On the right side, select Area Route or Boundary Route, set the mapping Resolution, then select Crosshair.
4. Add boundary points with the crosshair
Drag the map and use Add to place points at the crosshair position. Save the boundary after the relevant points have been created.
5. Start the mapping flight
Tap Start and move the slider to take off. The aircraft performs the mapping operation along the route automatically.
6. Wait for offline reconstruction
The Quick Start Guide says the operator can receive an HD map through offline reconstruction using the remote controller. Wait for reconstruction to complete, then tap Plan Field.
7. Create the field and mark obstacles / no-spraying areas
Select Field and tap Add. Select the point type as Obstacle or No-Spraying Area where appropriate and mark those areas on the map.
8. Use the field and set task parameters
Select the completed field, set task parameters and configure the route. Adjust route flight direction using the control shown in DJI Agras, then save.
9. Start the task
Tap Start to begin the operation.
Two quick-start safety notes
DJI says to take off only in open areas and to set appropriate Connection Routing and RTH Altitude for the operating environment.
The Quick Start Guide also explains that moving a control stick slightly can pause an operation. The aircraft hovers and records the breakpoint. When the operation is selected again, the aircraft returns to the breakpoint automatically and resumes. Pay attention to aircraft safety during that return.
Why this article stays narrow
This is the first-task quick-start path, not the complete T100 mapping manual. For deeper Route Mode planning, editing and task execution, use the existing How to Plan Fields and Execute Tasks tutorial and the T100 Mapping & Spraying Operations Guide. Those pages own the broader search intent; this page owns the source's compact Crosshair → reconstruction → first task workflow.
Useful hardware context
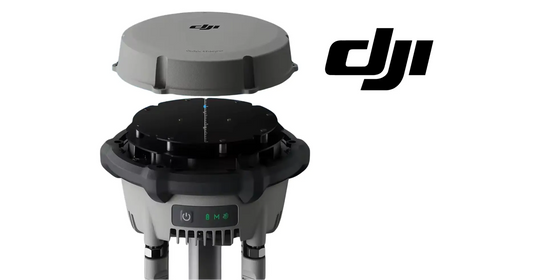
The workflow is performed through the T100 OEM Remote Controller and DJI Agras. RTK positioning is recommended in the preceding preflight section; one available correction-hardware path is the D-RTK 3 High-Precision GNSS Mobile Station.
Parts & Equipment Referenced in This Guide
Shop Related Collections
- DJI Agras T100 Radar, RTK & Sensor Parts
- DJI Agras T100 Remote Controller Parts
- DJI Agras T100 Spraying System Parts
- DJI T100 Parts
Related Tutorials
Source and revision note
Primary source: DJI AGRAS T100 Quick Start Guide v1.0, English “Starting Operations” section, including the Crosshair / Route Mapping / Route Operation example workflow.