DJI C12000 Activation & Firmware Update Guide with DJI Agras
The C12000 must be activated before first use. DJI uses the remote controller and DJI Agras as the activation, firmware-update and diagnostic interface for the intelligent power supply.
Quick Answer: Connect the remote controller to the C12000, run DJI Agras and open Device Management > Charging Device. Complete activation there. When DJI Agras reports that new firmware is available, follow the on-screen instructions to update the C12000.


Why activation matters
The DC Output status LED can flash yellow four times continuously when the product is not activated. That makes activation a direct troubleshooting branch when a new unit will not proceed normally.
Connect the remote controller
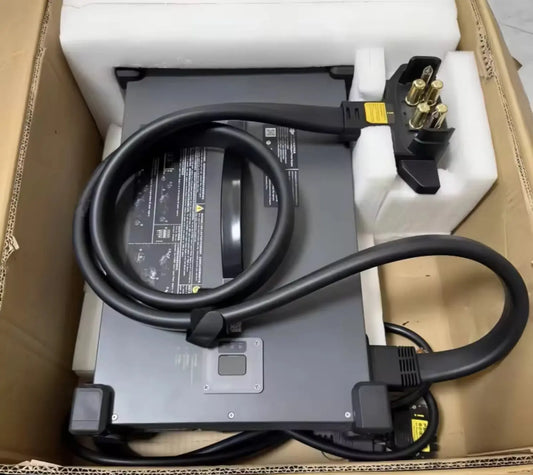
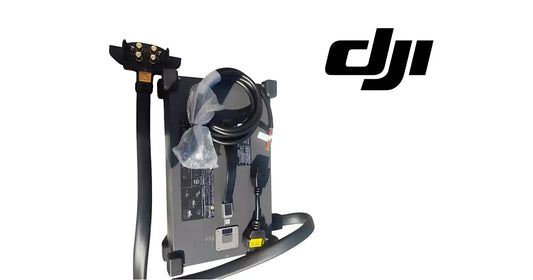
Use the C12000 USB-C port shown in the component map and connect it to the remote-controller USB-A port as shown in Figure B. Handle the ports and cables carefully and do not energize or manipulate the charging system outside the procedures described by DJI.
Open DJI Agras
On the remote controller, run DJI Agras and tap Device Management > Charging Device. Follow the activation prompts.
Update firmware when prompted
When new firmware is available, DJI instructs the operator to follow the on-screen update instructions. The manual does not provide an alternate offline update workflow, so this guide does not invent one.
Use the same connection for fault details
If any status LED blinks, the C12000 guide says to connect the remote controller to check the details. This makes the remote-controller connection both the first-use activation route and the diagnostic route.
Parts & Equipment Referenced in This Guide
Shop Related Collections
Related Tutorials
- C12000 Status LED Troubleshooting
- T100 Remote Controller & DJI Agras App Guide
- DJI T100 Power Supply Tutorial
Source and revision note
Primary source: DJI C12000 Intelligent Power Supply User Guide v1.0 (2025), Figure B and Activation and Firmware Update section.