DJI O4 Relay User Guide: Setup, Linking, Signal Range, LEDs, Firmware & Battery Care
This visual manual reorganizes DJI O4 Relay User Guide v1.0 into focused operating, diagnostic and maintenance tutorials. The original source is compact, so the cluster is intentionally task-based rather than stretching the same information across broad SEO chapters.
Quick Answer: Charge the relay, install its antennas, power it on and mount it above the crop canopy. Link the relay to the remote controller through DJI Agras and let the aircraft link automatically. Keep the antennas unobstructed, use the LED guide to separate battery state from linking state, and maintain the internal battery with DJI's specified charging and storage ranges.

DJI O4 Relay visual manual index
- Setup: Charging, Antennas, Power-On & Extension Rod
- Linking & Activation with DJI Agras
- Field Placement: 2 m Crop Clearance, Antennas & Signal Safety
- LED & Battery Status Troubleshooting
- Firmware Update Guide
- Charging & Battery Care
- Storage & Maintenance
- Specifications & Transmission Distance


Existing relay tutorial
The store already has a broader DJI Agras T100 Tutorial: How to Use the DJI Agras Relay. This manual cluster does not replace it; instead, the new pages provide source-specific visual references for setup, linking, battery management, firmware and specifications.
Exact hardware paths
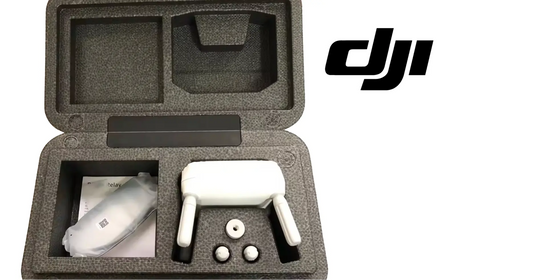
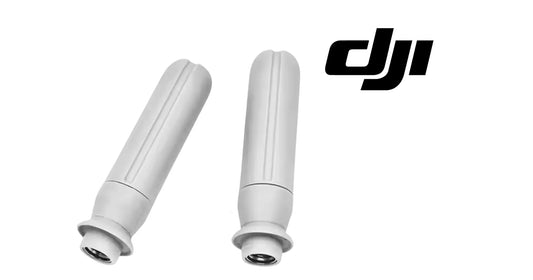
The complete relay is the DJI Agras T100 OEM O4 Relay Signal Repeater System (USA Version). A verified exact replacement O4 Relay Antenna Pair is also available. Linking and activation in the T100 workflow use the DJI Agras T100 OEM Remote Controller.
Parts & Equipment Referenced in This Guide
- DJI O4 Relay Signal Repeater System
- DJI O4 Relay Antenna (Pair)
- DJI Agras T100 OEM Remote Controller
Shop Related Collections
- DJI Agras T100 Radar, RTK & Sensor Parts
- DJI Agras T100 Remote Controller Parts
- DJI Accessories
- DJI T100 Parts
- DJI Parts
Source and revision note
Primary source: DJI O4 Relay User Guide v1.0 (2024), English section and manufacturer setup illustration.