DJI C12000 DB2160 Charging Workflow: Air-Cooled Heat Sink, Cooling Station & Battery Connection
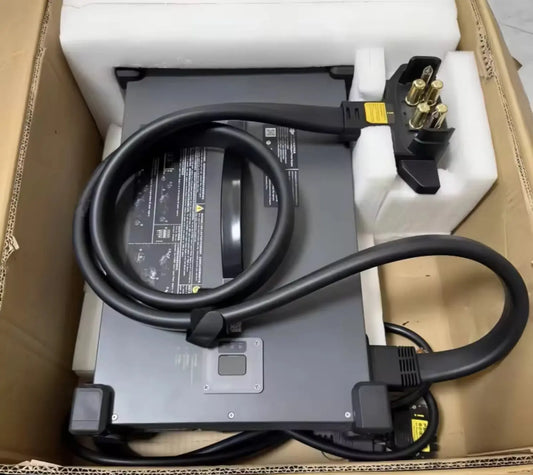
The C12000 charging procedure connects the power supply to the battery through an air-cooled heat-sink workflow. DJI Figure E makes the sequence important: connect the charging cable to the cooling interface first, then place the battery into the heat sink so charging can begin.
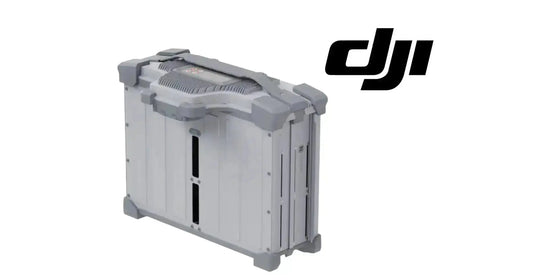
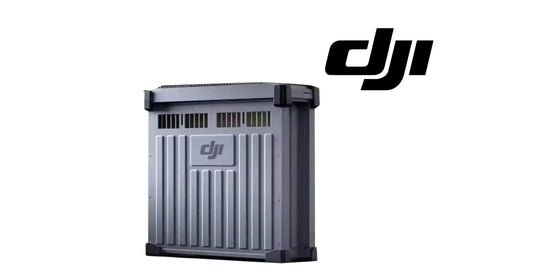
Quick Answer: Before placing the battery into the air-cooled heat sink, connect the C12000 charging cable to the heat-sink charging interface. Then place the compatible Intelligent Flight Battery into the heat sink. In the current T100 catalog, the direct battery-side paths are the DB2160 Intelligent Flight Battery and the DB2160 Battery Cooling Station / Battery Air-Cooling System.

1. Prepare the charging site
Use a flat, stable surface and preserve the 50 cm ventilation clearance around the C12000. Keep the charging battery at least 30 cm from the power supply and away from the power-supply ventilation openings.

2. Connect the C12000 to the cooling interface
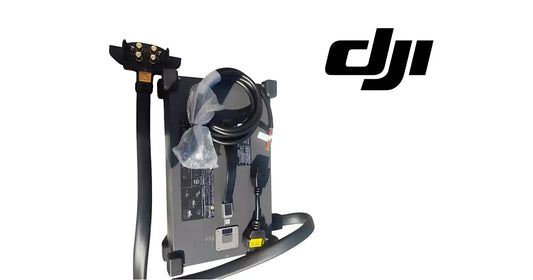
DJI's fast-charging instructions say to connect the charging cable to the air-cooled heat sink before placing the battery into the heat sink. Slow charging refers back to the same battery-side method.
3. Place the compatible battery into the heat sink
The manual's specification table lists DB2100, DB1580 and DB2160 Intelligent Flight Batteries as compatible in this revision. Ares Acres currently has the DB2160 Intelligent Flight Battery as the verified direct battery product in this charging family.
4. Cooling hardware
The current T100 power catalog includes the DB2160 Battery Cooling Station and the Battery Air-Cooling System. The manual also requires regular cleaning of the C12000 fan dustproof cover so the charger itself can dissipate heat properly.
5. Read the charging-channel LED
Solid yellow means a battery is connected and ready. A repeating green blink means charging. Solid green means fully charged. Yellow blinking indicates a warning and red blinking indicates an error. If an LED blinks, connect the remote controller for details rather than replacing a battery or cooling component from LED color alone.

Parts & Equipment Referenced in This Guide
- C12000 Intelligent Battery Charger
- DB2160 Intelligent Flight Battery
- DB2160 Battery Cooling Station
- Battery Air-Cooling System
- Charging Extension Cable
Shop Related Collections
Related Tutorials
Source and revision note
Primary source: DJI C12000 Intelligent Power Supply User Guide v1.0 (2025), Figure E, charging procedures and compatible-battery specification.