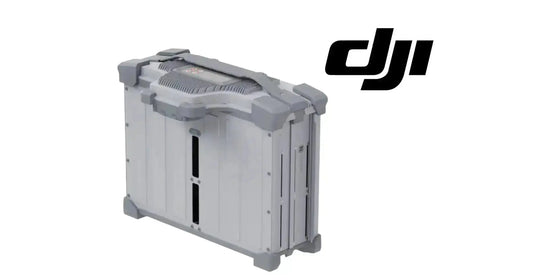
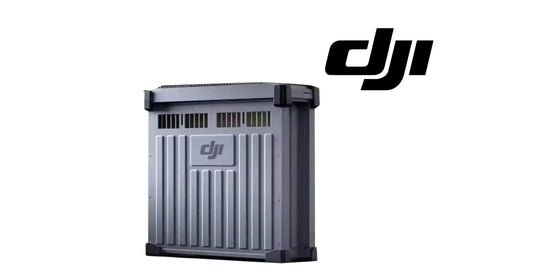
DJI C12000 Fast Charging Guide: 380V Three-Phase, L1/L2/L3/PE & 12 kW Output
Fast charging is the C12000's high-power operating mode. Because it involves three-phase mains wiring, DJI restricts the fast-charging connection to qualified electricians wearing insulated gloves.
Quick Answer: Fast charging requires a 380 V three-phase supply with at least 15 kW output. Turn the air circuit breaker OFF before connection. Install the fast charging cable and safety pins. A qualified electrician connects L1, L2 and L3 to the hot terminals and PE to ground. Turn the breaker ON only after wiring is complete. Connect the charging cable to the air-cooled heat sink before placing the battery into the heat sink. After charging, turn the breaker OFF before disconnecting the fast charging cable.

Electrical qualification requirement
DJI states that only qualified electricians wearing insulated gloves can perform the fast-charging connection. The operator should also consult a local electrician to verify that the three-phase wiring is correct and complies with local regulations.
1. Turn off the air circuit breaker
Before handling the fast-charging connection, turn off the air circuit breaker of the three-phase AC power supply.
2. Install the fast charging cable

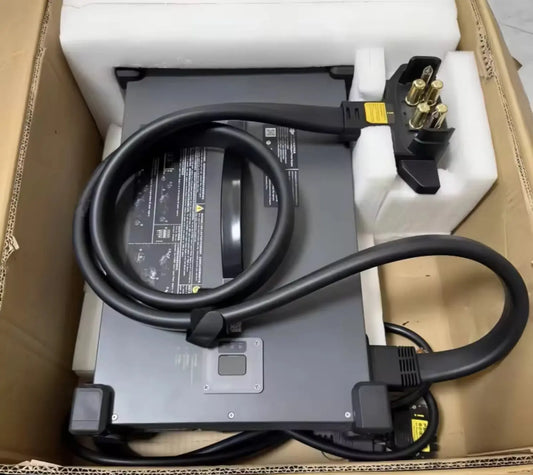
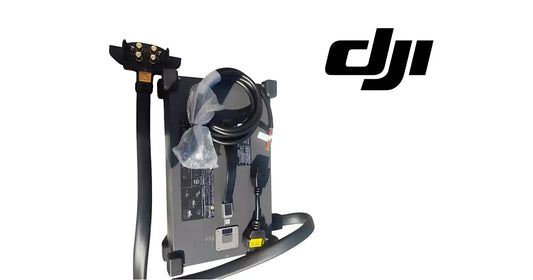
Remove the safety pins from the fast charging cable, connect the cable to the C12000 and reinstall the safety pins.
3. Connect L1, L2, L3 and PE

DJI says the three hot wires labeled L1, L2 and L3 connect to the hot terminals and the PE wire connects to ground. Do not connect the ground wire to a neutral terminal or hot terminal. DJI warns this can damage the product or create serious hazards such as fire.
4. Turn the breaker on
Only after the connection is complete should the air circuit breaker be turned back on.
5. Connect the battery through the air-cooled heat sink

The current T100 battery-side equipment includes the DB2160 Battery Cooling Station, Battery Air-Cooling System and DB2160 Intelligent Flight Battery.
6. Shutdown order after charging
When charging is finished, turn off the air circuit breaker before disconnecting the fast charging cable from the C12000.
Parts & Equipment Referenced in This Guide
- C12000 Intelligent Battery Charger
- DB2160 Battery Cooling Station
- Battery Air-Cooling System
- DB2160 Intelligent Flight Battery
- Charging Extension Cable
Shop Related Collections
Related Tutorials
Source and revision note
Primary source: DJI C12000 Intelligent Power Supply User Guide v1.0 (2025), Fast Charging section and Figures C, D and E.