DJI Agras T100 150L Spreading System Installation Guide: Spray-to-Spread Conversion
The DJI 150L Spreading System Product Information v1.0 provides a compact but important installation sequence for converting the T100 from its spraying configuration to the 150L spreading configuration. This guide expands that sequence into a visual field procedure without adding steps that are not shown or supported by DJI.
Quick Answer: DJI states that this 150L Spreading System is compatible with the T100 aircraft only in this source revision and requires aircraft firmware that supports the spreading system. Before installation, remove the Intelligent Flight Battery. Remove the spraying system, install the spreading system as shown in Figure A, reconnect the system cables securely, protect any detached connectors with their original covers, then verify that the spinner disc cannot contact cables or surrounding structure during operation.

Before removing the spraying system
Remove the T100 Intelligent Flight Battery before beginning installation. DJI specifically places this requirement under Figure A. Do not treat the aircraft as safely de-energized while the flight battery is still installed.
Remove the spraying system and install the spreader

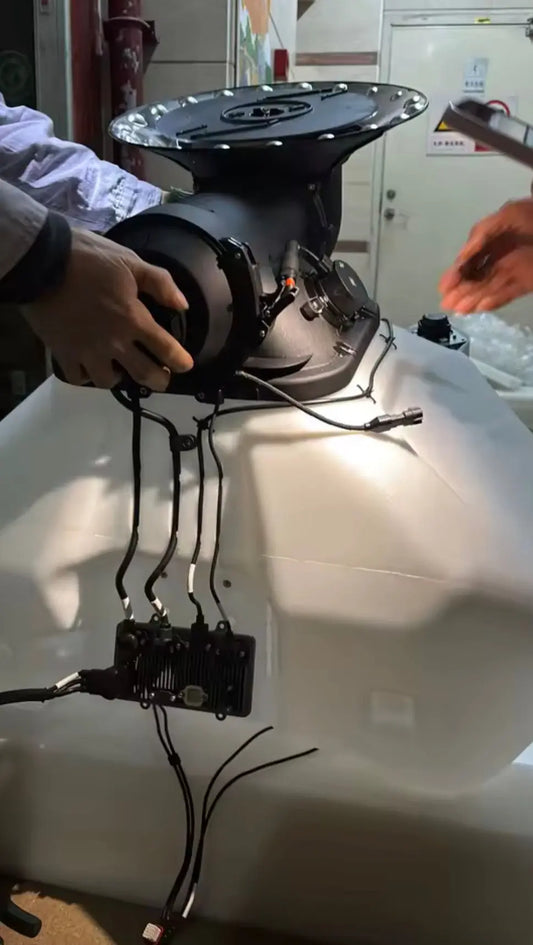
Figure A shows the spraying-system connections being detached, the spraying-system assembly being lifted away, and the spreading-system assembly being installed in its place. Follow the illustrated sequence and support the assemblies so cable loads are not carried by the connectors.
Protect disconnected cables and connectors
DJI instructs users to attach the original covers to all removed cables and their corresponding connectors. Once the spreading-system cable is connected, attach the covers of the two connectors together so foreign objects cannot enter.

Post-installation clearance check
After installation, inspect the aircraft and spreading system to make sure the spinner disc will not damage any cable or other structure during operation. Cable routing and connector security are part of the installation check, not an afterthought.
The complete system is available as the DJI Agras T100 OEM 150 Liter Seeding System. This article follows DJI Product Information v1.0, which explicitly states T100-only compatibility for this 150L system.
Parts & Equipment Referenced in This Guide
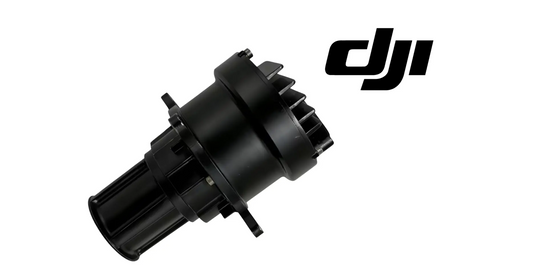
- DJI Agras T100 OEM 150 Liter Seeding System
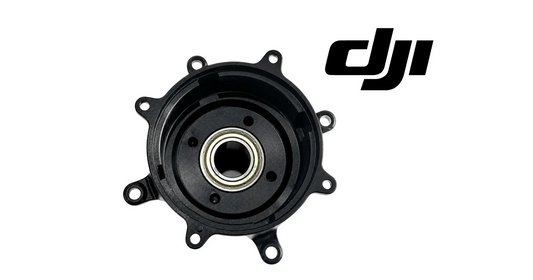
- DJI Agras T100 OEM Spinner Disk
- DJI Agras T100 OEM Spinner Disk Cable
- DJI Agras T100 OEM Spreader Sealing Diaphragm
Shop Related T100 Collections
Related T100 Tutorials
- How to Program the DJI T100 Spreading System
- T100 Auger Size Guide
- 150L Preflight, Blockage Prevention & IP67 Safety
Source and revision note
Primary source: DJI 150L Spreading System Product Information v1.0 (2025), Figure A and English warnings/specifications.